sábado, 21 de dezembro de 2013

Make Your Own Internet-Controlled Lamp with a Raspberry Pi

The Raspberry Pi is great for powering all kinds of home automation projects. If you want to get those power outlets connected the internet so you can control them from anywhere, DIYer Jack Minardi shows off how to do just that.


The system here uses some cheap remote controlled outlets, some transistors, breadboards, and the Raspberry Pi to power a system where you can remotely turn off a lamp from anywhere. It's not just a lamp either, you can turn anything connected to the outlet on and off from the internet. The build requires some soldering, but if you're interested in building something like a DIY WeMo for yourself, Minardi's build is a good place to start.


terça-feira, 5 de novembro de 2013

HDMIPi Affordable 9" High-Def screen for the Raspberry Pi

Small HDMI screens are expensive. Native HD ones are astronomical. Some folks at kickstarter drive the price down "Raspberry Pi" style.


  • get hold of a small high-definition (HD) screen
  • connect it to an HDMI driver board
  • hook that up to your Raspberry Pi (or other HDMI device).

domingo, 20 de outubro de 2013

Raspberry Pi as low-cost HD surveillance camera


This article describes how to build a surveillance cam based on a Raspberry Pi micro-computer which records HD video when something moves in the monitored area. Live picture can be viewed from any web browser, even from your mobile while you're on the road.

What you will get:
See live stream in any web browser from anywhere
Record any motion into video file

Usually, such a cam will cost you around US$2.000, but with the result from this article, you will get such a cam for only about US$100.


domingo, 13 de outubro de 2013

Raspberry Pi Garage Door Automation


It’s a very simple board complete with a small relay, a diode, and 2 resistors. The 8 pin header provides connection to two hall effect sensors that detect the status of the garage door, and the original door opener. He then connects this to an open-source wireless Arduino clone of his own design, dubbed the Moteino. A pair of these communicate to the Raspberry Pi which acts as his secure home automation gateway server.


domingo, 22 de setembro de 2013

Raspberry pi and a webcam home alarm


Convert a simple webcam to a fancy digital peephole viewer with motion detection features

Traditional wireless CCTV cameras are cheap but anyone with a wireless receiver can view your signal. On the other hand, IP cameras are secure but they can be quite expensive and usually the video quality is poor — unless you go for a really expensive model.

segunda-feira, 5 de agosto de 2013

Raspberry Pi Chomecast Style

If you have a Raspberry Pi handy and fancy adding a few features similar to that of Google’s new Chromecast media streaming device. A new application has been created for the Raspberry Pi called PiCast that offers users an open source solution for the Raspberry Pi $35 mini PC. Watch the video after the jump to learn more about the PiCast project and see it in action.


domingo, 14 de julho de 2013

quinta-feira, 30 de maio de 2013

Raspberry pi: nRF24L01 and TCP

Que tal um Raspberry pi (Wheezy) para controlar um transmissor RF. Aqui fica um tutorial!


segunda-feira, 27 de maio de 2013

Portatil Raspberry Pi com Atrix 4G Dock


Projecto engraçado onde utiliza uma dock para poder criar um portátil com o Raspberry.


domingo, 26 de maio de 2013

Ligando uma Pen Banda Larga ao Raspberry pi

NetObjects Fusion XIISoftware de design de sites. Crie sites e páginas da Web facilmente.

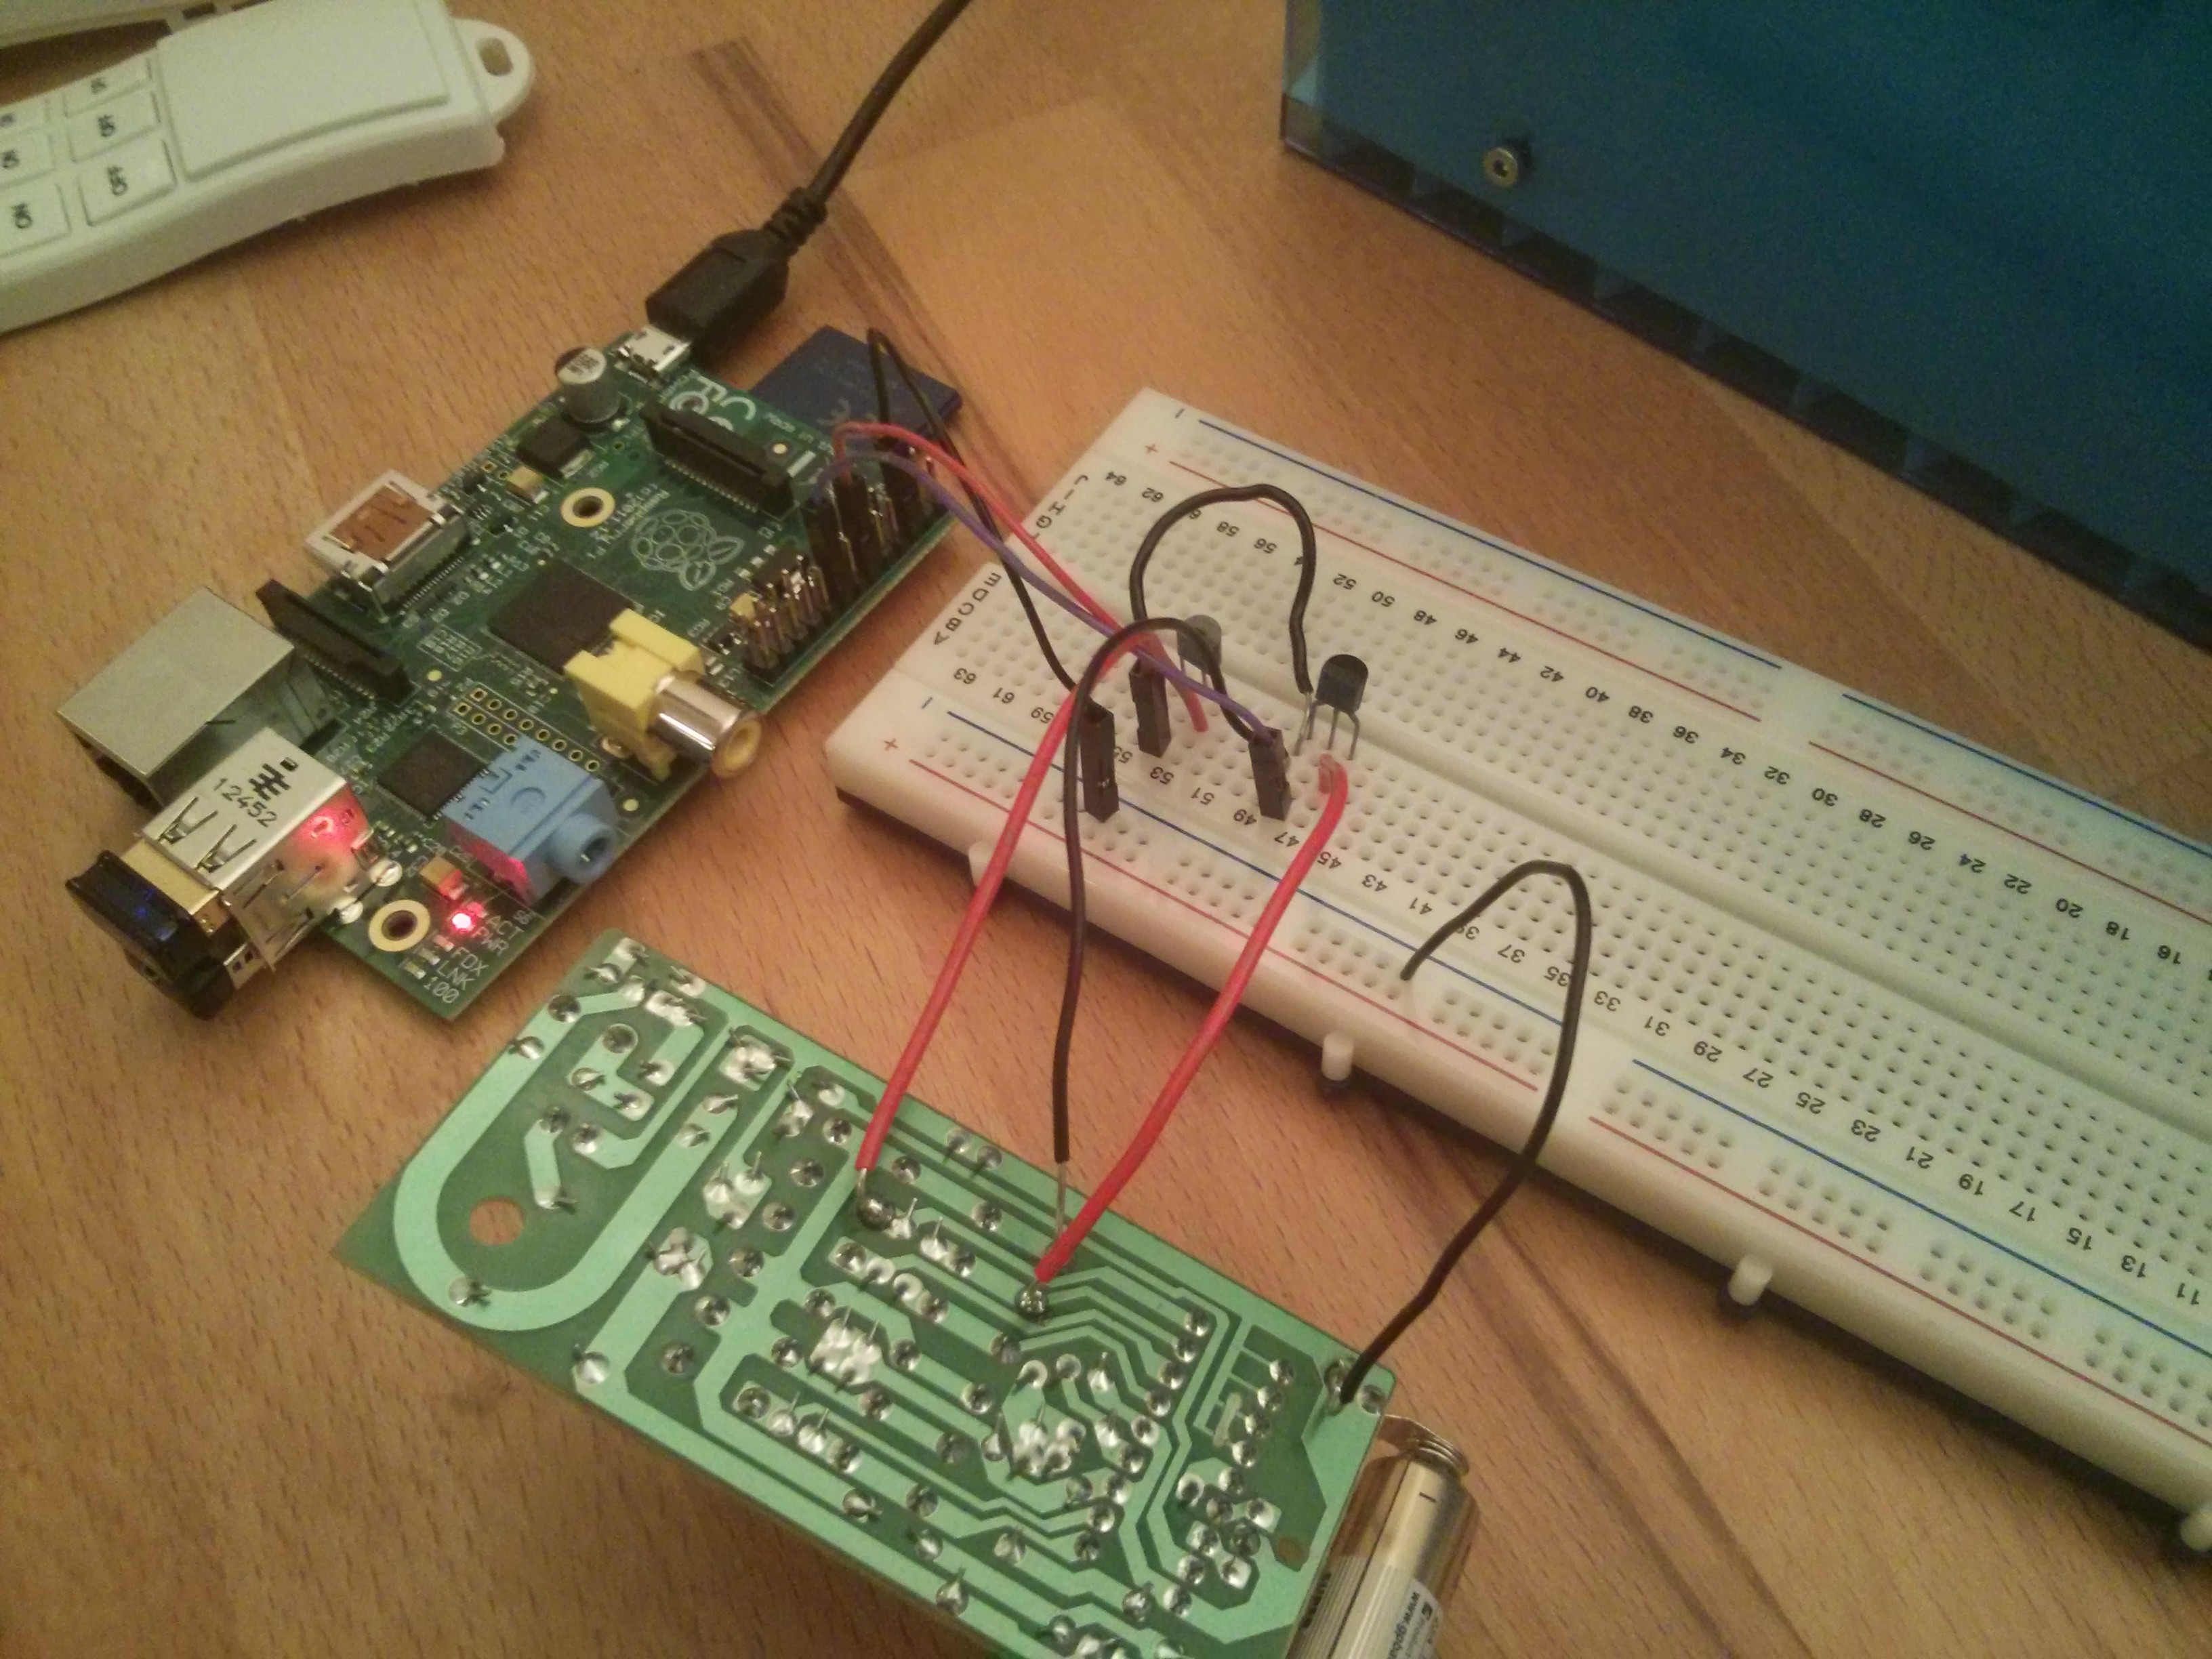
Aproveitando uma pen 3g da TMN pensei porque não tentar ligar um raspberry pi de modo a poder enviar e receber sms entre outras coisas. Segue-se um pequeno tutorial do que fiz usando um programa chamado gnokii:

Antes de tudo verificar se o raspberry pi está actualizado:
apt-get upgrade
apt-get update
Verificar se a pen está ligada:
lsusb
que nos mostra que esta tudo ok:
pi@raspbmc:~$ lsusb
Bus 001 Device 002: ID 0424:9512 Standard Microsystems Corp.
Bus 001 Device 001: ID 1d6b:0002 Linux Foundation 2.0 root hub
Bus 001 Device 003: ID 0424:ec00 Standard Microsystems Corp.
Bus 001 Device 005: ID 12d1:1001 Huawei Technologies Co., Ltd. E169/E620/E800 HS DPA Modem
verificar as portas usb onde a pen esta:
dmesg | grep tty
a mim deu me o seguinte:
console [tty0] enabled
dev:f1: ttyAMA0 at MMIO 0x20201000 (irq = 83) is a PL011 rev3
usb 1-1.2: GSM modem (1-port) converter now attached to ttyUSB0
usb 1-1.2: GSM modem (1-port) converter now attached to ttyUSB1
usb 1-1.2: GSM modem (1-port) converter now attached to ttyUSB2


Instalar o gnokii:
sudo apt-get install gnokii
é necessário criar os seguintes logs config e gnokii-errors nos directórios indicados:
sudo nano /home/pi/.config/gnokii/config 
sudo nano /home/pi/.cache/gnokii/gnokii-errors
é necessário editar o /home/pi/.config/gnokii/config de modo a configurar a pen. Após testar reparei que USB2 será a porta a usar.
Adicionado a seguinte configuração ao config do /home/pi/.config/gnokii/:
[global]
model = AT
port = /dev/ttyUSB2
connection = serial
Agora deverá estar tudo correcto sendo que melhor será mesmo testar vendo se está a indentificar correctamente a pen:
gnokii --identify
no meu caso:
GNOKII Version 0.6.30
IMEI         : XXXXXXXXXXXXXXXX
Manufacturer : huawei
No flags section in the config file.
Model        : E169
Product name : E169
Revision     : 11.314.12.31.00
Perfeito agora basta introduzir o pin da pen para ligar a rede (pen fica a piscar azul):
gnokii --entersecuritycode PIN
sendo que ficou tudo ok
GNOKII Version 0.6.30
Enter your code:
Code ok.
E pronto esta tudo configurado. Neste momento é possível enviar e receber sms apartir do raspberry pi sendo que para isso temos que deixar em modo sms reader:
gnokii --smsreader

GNOKII Version 0.6.30
Entered sms reader mode...
SMS received from number: 351xxxxxxx
Got message 18: Teste receber sms!

Existem vários comandos que podem testar do Gnokii: 
gnokii --identify
gnokii --monitor nota que recebe chamadas por exemplo 
gnokii --smsreader 
gnokii --sendsms


Todas as sms ficam no /tmp/sms/ sendo que próximo projecto que ate já tenho em funcionamento é ler o directório e efectuar comandos a partir de sms.

Links:
Raspberry-pi-as-sms-gateway
3G-modem-Huawei-E169-E620-E800
Sending-sms-from-huawei-e1752

sexta-feira, 24 de maio de 2013